Wednesday, August 14, 2013

Sugar skull!!!

This is my first attempt at a sugar skull. I used NYX Jumbo Pencil in Milk, and BH Cosmetics shadows, as well as Morphe Brush shadows.   


I didn't have a design in mind so nothing was planned. 


Saturday, August 10, 2013

Sunday Rave Day: Rainbows!

Since I've been in the Rave scene I've seen a lot of rainbows. They are every where from make up, hair, clothes, to jewelry, shoes and underwear. Some people use events to show off and stand out, and some wear every day clothing. Either way is acceptable of course, no one is here to judge. 


There are very lovely outfits like shown above, and scandalous outfits, shown below. 


But I mainly focus on make up. Also discovering new ways to combine ans use products. 


Here is a YouTube video on how to do a simple rainbow and rainbow lips using BH Cosmetics. 


I typically do a rainbow cheetah/leopard print for events. 


Here is a 2-part YouTube tutorial on how I do my animal prints using Wolfe Face Art and FX:

Cheetah print 1
http://youtu.be/vD2iNaGwslk

Cheetah print 2
http://youtu.be/6DavkuHSBTQ


So there are a few different levels of rainbow makeup: 

Subtle: 


My work wearable from my June color challenge http://www.facebook.com/Rayzorsharpcreations


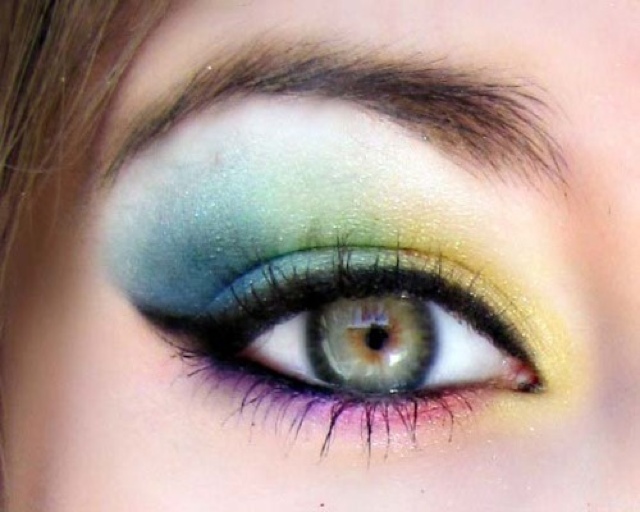
Plain rainbow


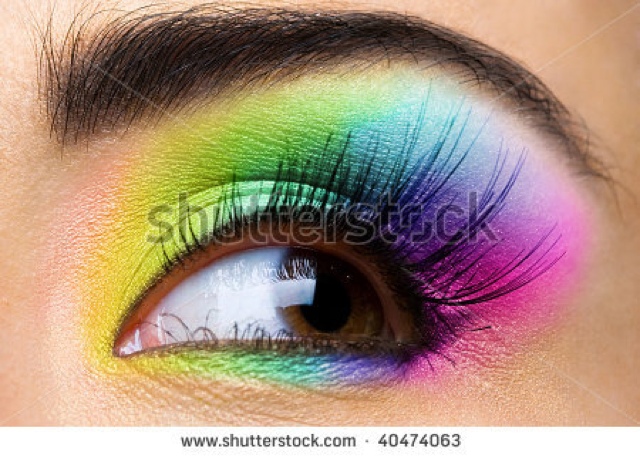
Artsy rainbow


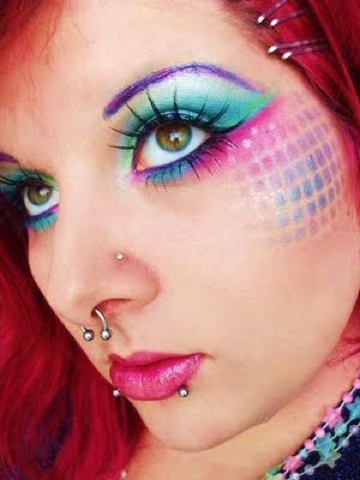
Over the top rainbow


Some other ways of showing off rainbows are hair and nails 


There is even a whole Facebook page about rainbow hair! 

https://m.facebook.com/Rainbowhairlove?id
=362624080458903&_rdr


^^This is one of my favorites that I wish I could 
do myself. 

You can even find my photo on their page from 
a few years ago. 


There are endless outfits, make up and hair combos. 


Raves to me are all about bright colors. On a daily basis 
I try to show off as much color as I can. It's apart of 
who I am.  


Sources: 

Unless my own photo, all photos found through 
Google searches. 

-Rayzor ^_^!


Thursday, August 8, 2013

Ulta Haul

Since I am unable to do a video I thought I'd show a pic and a list of what was bought 


-Ulta Daily Moisturizer + Sunscreen 
-Benefit Beyond Mascara they're real 
-Urban Decay Naked Basics 
-NYX Lipstick in Strawberry Milk
-Piggy Polish in Embrace Adventure 
-Ulta Fragrance Spray in Lavender Woods  

Since in my Ulta Haul I purchased $19.50+ on Ulta products I received a free 13 piece gift 


-2 Eyeshadow Quads
-1 Full size Plush Dramatic Volume Mascara 
-Blush in Sunkissed 
-Foaming Oil Cleanser
-Dual Ended Eyeliner in Black and Deep Brown 
-Lipcolor in Cappuccino 
-Lipgloss in Flirtini
-mini glitter nail polish
-3 brushes
-1 make up bag to carry it all in 


-Rayzor 

Tuesday, August 6, 2013

Big, Bold, Beautiful Blues

Blue Eyes:


Blue is a color that can literally go with anything, but the ones that complement blue eyes bests would be deep golds, black/charcoals, pinks, or greens.


Blue complements the whole spectrum, you can partner it with many colors and couldn’t go wrong!


My favorite colors that complement are neutrals.  Neutrals are fail proof, and they make any eye color pop!


For small eyes, add the darker color on the crease of the lid to create the illusion that your eyes are bigger. On the inner crease add a lighter or white color to intensify the color of your eyes.
Another wonderful thing to help make your blue eyes bluer is adding… you guessed it: More blue!
Using a darker, or lighter blue shadow will accentuate your blues in a way you didn’t expect.


You can make your blue eyes pop even more with a beautiful smokey lid ensemble.


You can be creative with your colors and embrace your big, beautiful, blues.  Here are a few more ideas to create your perfect look.


As far as brands that work really well, I personally love Nyx cosmetics, and Shanty.
I’ve used MAC, Covergirl, Mary Kay, and other cosmetics.  Matte finish or shiny, any brand will work against your wonderful blues.  Be creative, Be bold, be beautiful and embrace those gorgeous eyes.


~Ashley Skinner of Beautiful Creatures

Monday, August 5, 2013

For the Models

I haven't been doing make up on other people for that long, but I have done it enough to have some advice. 

Everyone takes care of themselves differently, which is understandable. But if you frequently are in front of a camera or are having make up applied to you then there are a few things you should pay attention to. 

1. Get plenty of sleep the night before. Sleep does affect your skin and defiantly the way you preform. 

2. Drink lots of water. Water is great for your skin, and the less the photographer has to photoshop the images the better the shoot will turn out. 

3. Exfoliate your skin, paying attention to your lips. Exfoliating removes dead skin cells, which makes applying make up simpler and smoother. Use moisturizer after exfoliating to add back in vitamins and nutrients. 

4. Keep well groomed including eyebrows, lip hair, and nails. Eye brows are the most important, they are in the main focus of your face and determine if your look comes together or falls apart. Nails are probably not that important unless you use your hands often next to your face.

5. Come to the shoot with a clean, moisturized face unless otherwise arranged. That's it, keep it beyond simple. 

My pet peeve is a model who is playing with her phone when I'm trying to apply make up. I'm on my phone all the time, except when I'm at a shoot. I'm giving my time, please respect that and give up some of your time. We are all there to work together. 

- Rayzor ^_^! 

Meet Ashely

Ashely Skinner 

Make up artist, licensed hair stylist, and Sally Beauty Supplies Consultant. 
Special effects artist. Ashely recently worked with me on a fashion show, which was hectic, but she came in very professional and got to work. She did an amazing job and I can't wait to work with her again! 


Thursday, August 1, 2013

Revlon Foundation Routine

Revlon is by far my favorite drug store brand when it comes to foundation. The products do what they say they will do and do not cost an arm and a leg to buy. 


Since I am not able to do videos currently because I do not have a working computer, I have started picture tutorials. Hopefully these will be able to get the point across as well. 

Here is what happened: 

Step 1: Starting with clean hands, and after applying moisturizer, I used Revlons Photogenic Concealer on all my trouble spots. In the photo shown I used a lot since I had been in the sun the day before I was red in spots. Normally I only apply it in the corners of my eyes and down my cheeks in a triangular shape. Then hitting random blemishes. 

Step 2: Using a beauty blender and Revlons Color Stay Foundation, I blend my foundation and concealer together all over my face. Making sure to get my ears, under my chin, and down my neck. 

Tip: If you get the beauty blender wet before using I with the make up you do not use as much product, it all goes on your face. 

Step 3: After making sure my whole face is covered, I set it with Revlons Color Stay powder foundation and a fluffy foundation brush. I usually only hit under my eyes and my T- Zone since I get a "cakey" look if I use too much. 

Step 4: Apply make up as normal. In this photo I used BH Cosmetics 1st and 2nd Edition Pallets. 

Revlon is my choice in foundation because it doesn't feel oily after I set it. I have used foundation in the past, like CoverGirl, and I still can feel the product on my face all day. 


-Rayzor